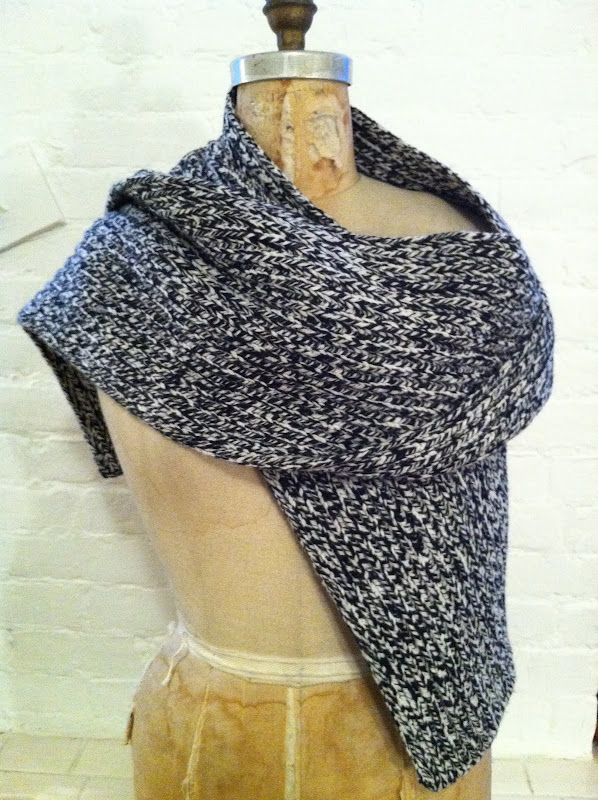


 This is the easiest DIY ever! I have been hunting...seriously for what seems like months now for an affordable, thick, long wool (no synthetics ladies) snood wrap scarf that wont break the bank - to keep that mean wind from biting my ears and neck! I stopped into J.Crew (who is also having extra 40% off all sale at the moment) this afternoon too look for a pair of mittens because my hands were about to fall off in this chilly NYC weather. I found this thick, long, wool scarf on a lonely shelf and scored it for about $20 (and yes found myself a pair of red wool mittens for about $8 so I could continue my afternoon in comfort). I thought this would be the perfect scarf to just make into my own damn snood since no one seems to be selling the real deal at a reasonable price.
Supplies: Thick scarf + basic sewing thread + 1 large needle + scissors. I reccomend using a thicker scarf as its easier to hide the stitches.
Cost: About $20 (scarf plus supplies I already had; but thread and needles
cost a mere couple bucks at any pharmacy store)
Time: Aprox. 15-20
1. Make sure to line up your scarf so its flat around before you start sewing,
otherwise it will be twisted.
2. Starting with the outside edge of your aligned scarf ends, begin to sew by taking the needle underneath one end, and up over through the top on the opposite end of your scarf so you are creating a binding stitch that locks each opposite end of your scarf together with
this circular looping stitch.
3. Re-inforce each edge once you have sewed the ends together with a few extra stitches in the same effect and finish with a simple knot stitch through the wool so there are no loose ends or thread.
4. Voila!
This is the easiest DIY project and a great way to re-vamp any old scarf you may have!

No comments:
Post a Comment